Wind Turbine Engineering Challenge
Mining Matters has 50 FREE Wind Turbine Kits available for young innovators across Canada. Each kit includes materials to build a working wind turbine using gears and a small motor, along with instructions in English. Kits are limited to one per household and are available on a first-come, first-served basis. Shipping is available within Canada only.
Safety
To complete this activity, you may require the support and assistance of an adult, especially when using hot glue. Work on a stable, flat surface to prevent materials from rolling away or structures from tipping over. When using hot glue, exercise caution, as the glue gun's metal tip and hot glue can cause burns. Apply small amounts to prevent drips and allow the glue to cool fully before handling glued parts. When working with electrical components, handle wires gently to prevent bending or breakage.
Background
How Do Wind Turbines Work?
Wind is a powerful, natural energy source that never runs out! Wind turbines use big spinning blades to turn wind into electricity that powers our homes. People have been using wind turbines for about 130 years, and today, they help provide clean energy all over the world.
Wind energy is growing fast! Between 2011 and 2021, the amount of electricity made by wind almost quadrupled. Canada is one of the top countries for wind power, and strong winds blow in every province and territory. Some of the best places for wind turbines are along coastlines—Canada has the longest coastline in the world!
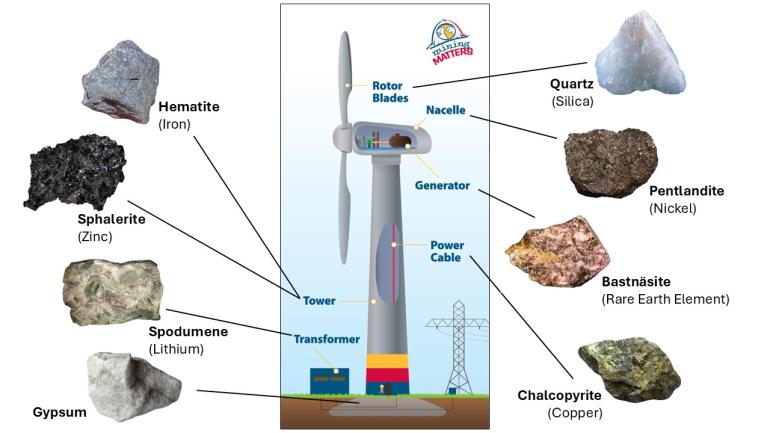
But did you know that wind turbines wouldn’t exist without minerals and metals? Let’s take a closer look at what they’re made of:
- The tower is made of iron and zinc to keep it strong and prevent rust.
- The base is made of concrete, which contains the mineral gypsum.
- The blades are made of fibreglass, which comes from silica.
- Inside the nacelle (the big box at the top), parts made of nickel alloys help turn wind into energy.
- The generator has magnets made from rare earth elements, which help create electricity.
- Copper wires carry the electricity down the tower.
- Batteries with lithium store extra energy for when the wind isn’t blowing.
Image
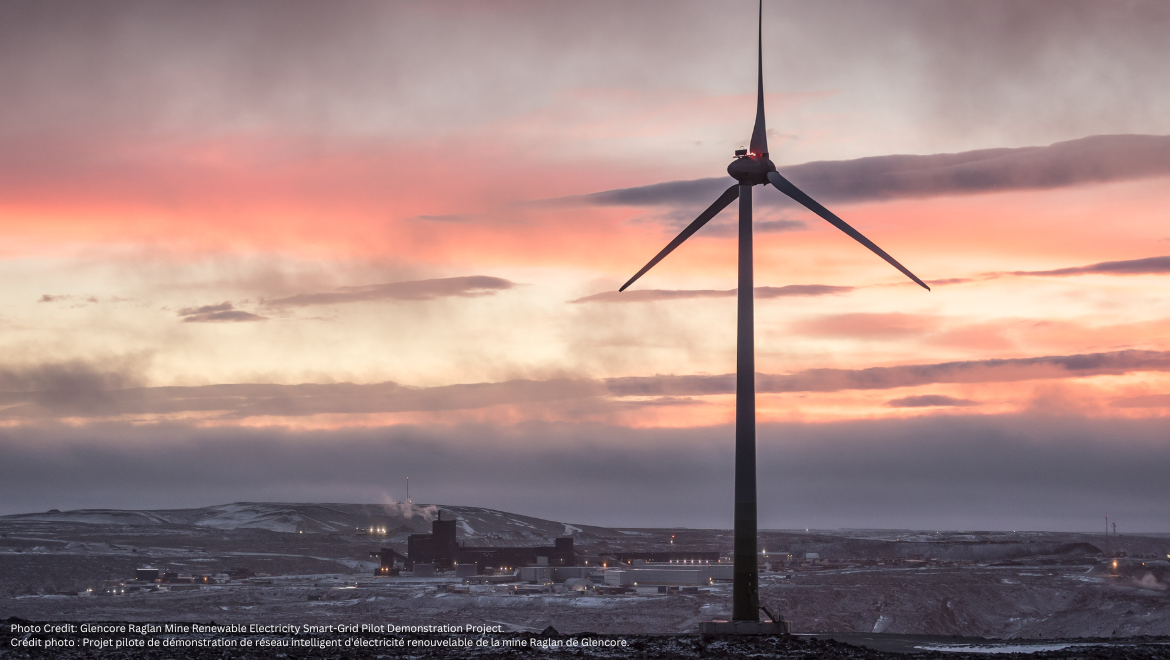
Fun Fact: In northern Quebec, Glencore’s Raglan Mine is reducing its reliance on diesel by using wind power! Their wind turbine and energy storage facility is helping to cut greenhouse gas emissions.
Objectives
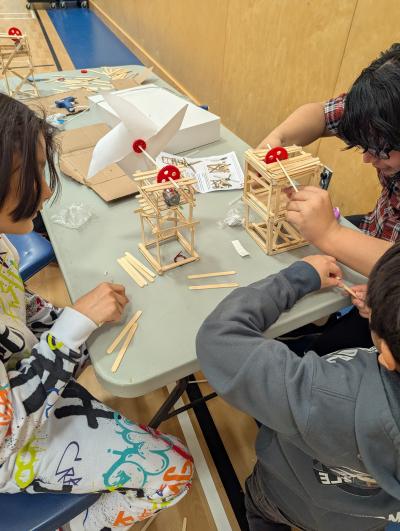
Can you design and build a sturdy wind turbine that generates electricity to power an LED light? Using popsicle sticks, gears, and a small motor, your mission is to construct a strong base, assemble a working gear system, and create efficient blades to capture the wind’s energy. Think like an engineer—reinforce your structure, align your gears precisely, and experiment with different blade shapes to maximize power! Will your wind turbine light up successfully? Let’s find out!
Image
Materials
Popsicle Stick Wind Turbine Tinker Kit includes:
- 100 popsicle sticks
- 118 ml craft glue
- 1 high generator torque motor
- 1 aluminum clip motor holder
- 2 LED (colours vary)
- 1 mixed gear pack with a variety of teeth sizes and brushings
- 30 cm of red stranded wire
- 30 cm of black stranded wire
- 2 wooden dowels
- 1 large straw
- 1 strip of double-sided foam tape
- 1 piece of cardstock
Optional materials needed from home (highly recommended):
- Hot glue gun
- Hot glue sticks
- Pencil and additional paper for drafting your plan
- Ruler
The kit includes craft glue, but for a faster and more secure assembly, we recommend using a hot glue gun (with adult supervision).
Instructions
Your goal is to build a wind turbine that can generate enough power to light up an LED. Rather than following a specific blueprint, think like an engineer and come up with your own design!
Here are some guiding questions to help you get started:
- Base and Structure: How will you create a strong and stable base so your turbine doesn’t tip over? What shapes make a structure sturdy?
- Gears and Motor: Where should you place your gears so they spin smoothly? How will you align the motor so it connects properly?
- Propeller Blades: What blade shape and size will work best to catch the wind? How can you attach them securely?
If you need inspiration or step-by-step support, check out our video tutorial for ideas!
Tips
Building the Base
- It is recommended to use hot glue as opposed to the wood glue. Hot glue dries faster and is slightly less strong than wood glue – however, this is useful in case you want to fix a mistake in the structure.
- Make sure your structure is level as much as possible to prevent issues in later steps. Use a ruler to double check that you have consistent spacing and heights. A level structure will be sturdier.
- Working with popsicle sticks in three dimensions can be tricky since the edges are thin and don’t have a lot of surface area for gluing. To combat this, try gluing multiple popsicles together or sandwiching popsicle sticks between each other.
Attaching the Motor and Gears
- If it is difficult to turn the large gear and small gear on the motor against each other, try to either lower the motor or lift the large red gear up. This can be achieved by taking off the dowel and straw and add more popsicle sticks or simply add more glue to add some height when you reglue the straw back down. Another tip is to have the small gear slightly off center from the larger gear.
Setting Up the Electrical Components
- The LED needs to be attached in the correct direction that align with the direction the blades spin. The LED has one long wire (positive) and one short wire (negative). If the LED is not lighting up when the blades are spinning, try either switching the orientation of the LED or changing the orientation of the blades so that when the wind catches them, they spin the other way. The LED will only turn on if the blades are spinning the correct way.
Creating and Attaching the Blades
- Test different blade designs with regular paper before using the cardstock from the kit.
- If your blades are spinning but the LED isn’t lighting up, you may need more power—try using larger blades or increasing wind speed. Alternatively, check if the LED connection needs to be flipped.
